Setting up a development environment
Table of Content
- Step 1: Install Anaconda
- Step 2: Install Visual Studio Code
- Step 3: Set Up a Python Environment with Conda
Overview of Setting up a development environment
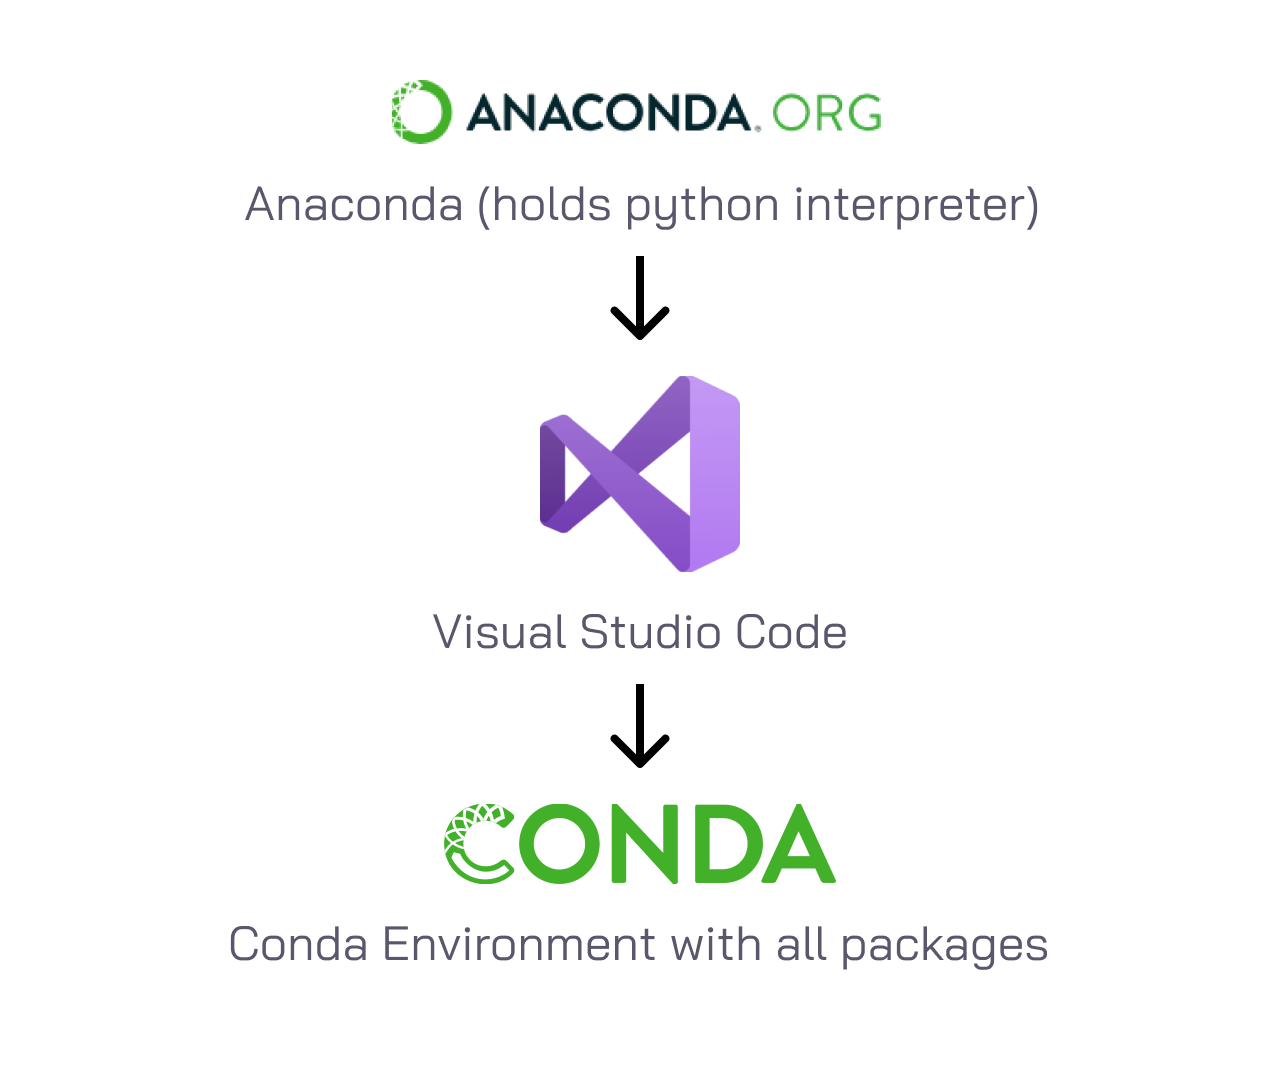
Setting up a robust development environment is a crucial first step for any machine learning or deep learning project. A well-configured environment ensures smooth development, reproducibility, and ease of collaboration. In this overview, we will cover the essential tools and steps needed to set up a development environment for working with PyTorch, focusing on creating a consistent and isolated workspace for your computer vision projects.
Before diving into the world of computer vision with PyTorch, it is essential to ensure your system is properly set up. This guide will walk you through the necessary programs and their installation steps so you can follow along with all the blogs in this series seamlessly. We will use Anaconda for managing our Python environment and Visual Studio Code as our code editor.
Step 1: Install Anaconda
Anaconda is a powerful open-source distribution that simplifies package management and deployment. It comes with a Python interpreter and includes numerous scientific packages and tools.
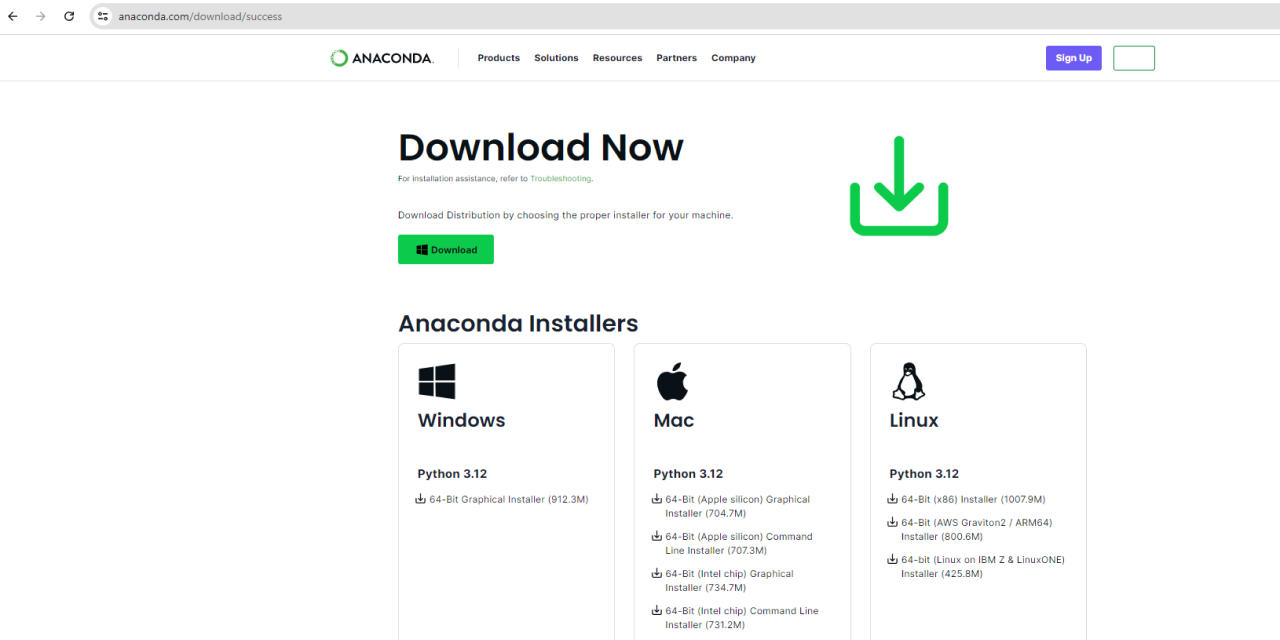
1. Download Anaconda:
Go to the Anaconda website and download the Anaconda installer
suitable for your operating system (Windows, macOS, or Linux).
https://www.anaconda.com/download#
2. Install Anaconda:
Follow the installation instructions provided on the website. For most users, the default settings will work fine. Ensure that you add Anaconda to your system's PATH during installation.
Step 2: Install Visual Studio Code
Visual Studio Code (VS Code) is a free, open-source code editor developed by Microsoft. It is highly extensible, supports numerous programming languages, and integrates well with Python.
1. Download Visual Studio Code:
-
Visit the Visual Studio Code website and download the installer for your operating system
2. Install Visual Studio Code:
-
Follow the installation instructions on the website. During installation, make sure to select the option to add VS Code to your system’s PATH for easy access.
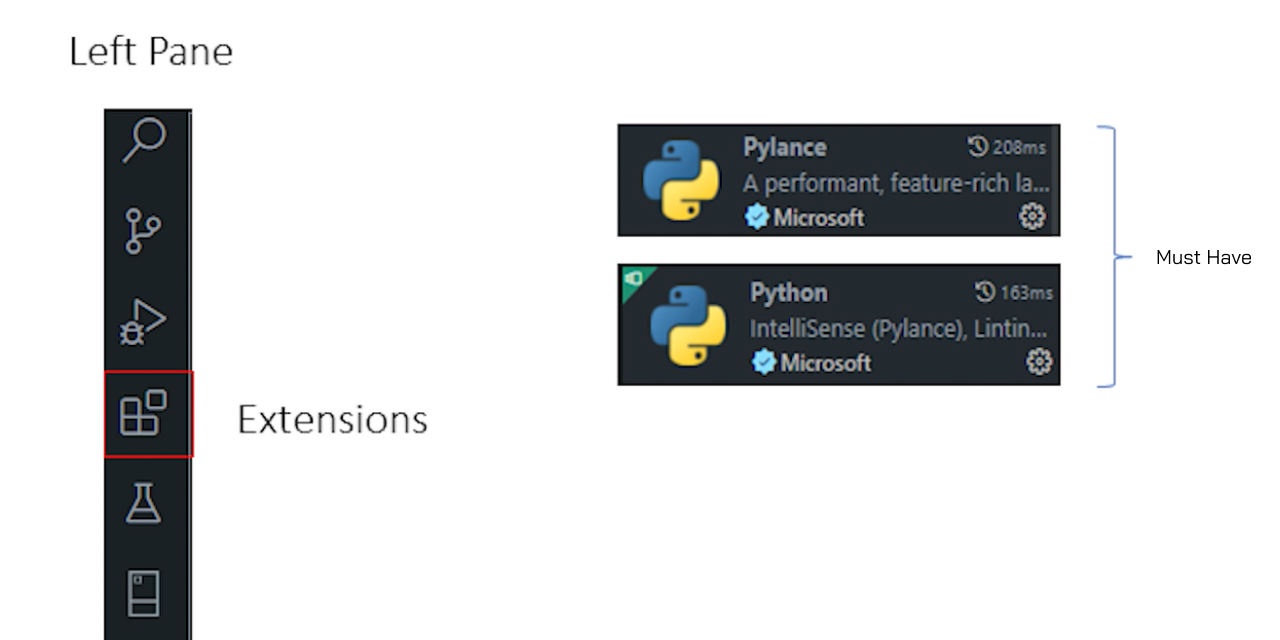
3. Install Python Extension for VS Code:
-
Open VS Code.
-
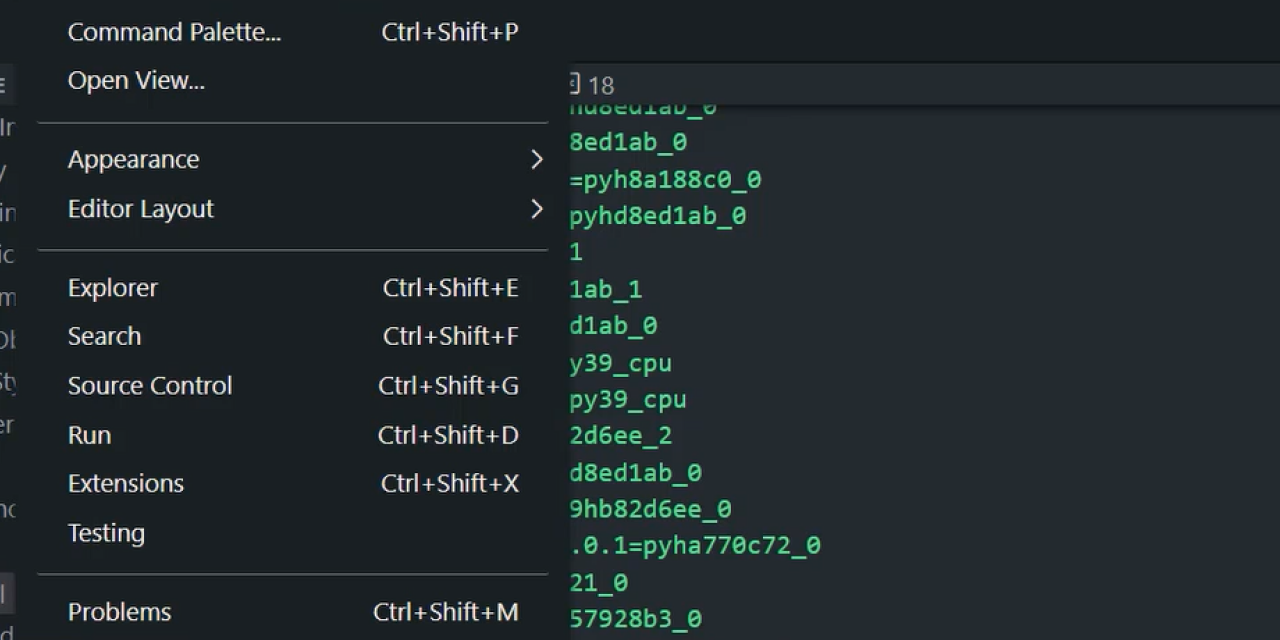
Go to the Extensions view by clicking the Extensions icon in the Activity Bar on the side of the window..
-
Search for "Python" and install the “Must have” extensions.
Step 3: Set Up a Python Environment with Conda
Using Conda, the package manager included with Anaconda, we will create a dedicated Python environment for our PyTorch projects. This ensures that we have the right versions of Python and all necessary packages.
1. Create a Conda Environment:
-
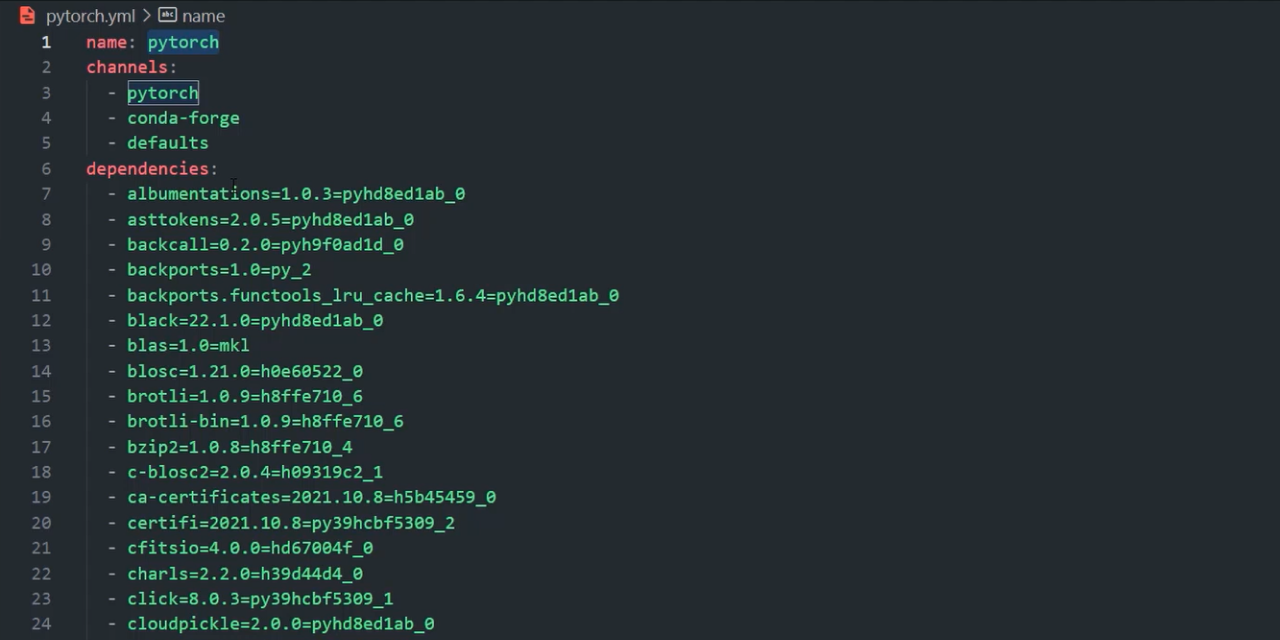
This section will guide you through setting up a Conda environment, which is crucial when working with multiple packages. Installing the correct versions of these packages ensures consistency and prevents compatibility issues. To simplify this process, we have created a .yml file that you can download from the link below. This file contains all the necessary package specifications, allowing you to set up your environment quickly and correctly.
pytorch.yml
The pytorch.yml file specifies a virtual environment named “pytorch” and includes all the dependencies and their versions required for this blog series. With this file, you can install everything you need with a single command.
2. Activate the Environment:
-
After downloading the yml file, open it in visual studio and activate the terminal
3. Install PyTorch and Other Dependencies:
-
With the environment activated, install all dependencies specified in the pytorch.yml file by running: conda env create -f pytorch.yml
-
This command will create an environment named "pytorch" based on the configuration in the .yml file. This process may take some time as all the packages are downloaded and installed. Once completed, you will see confirmation messages indicating that the environment setup is successful and all packages are installed.
-
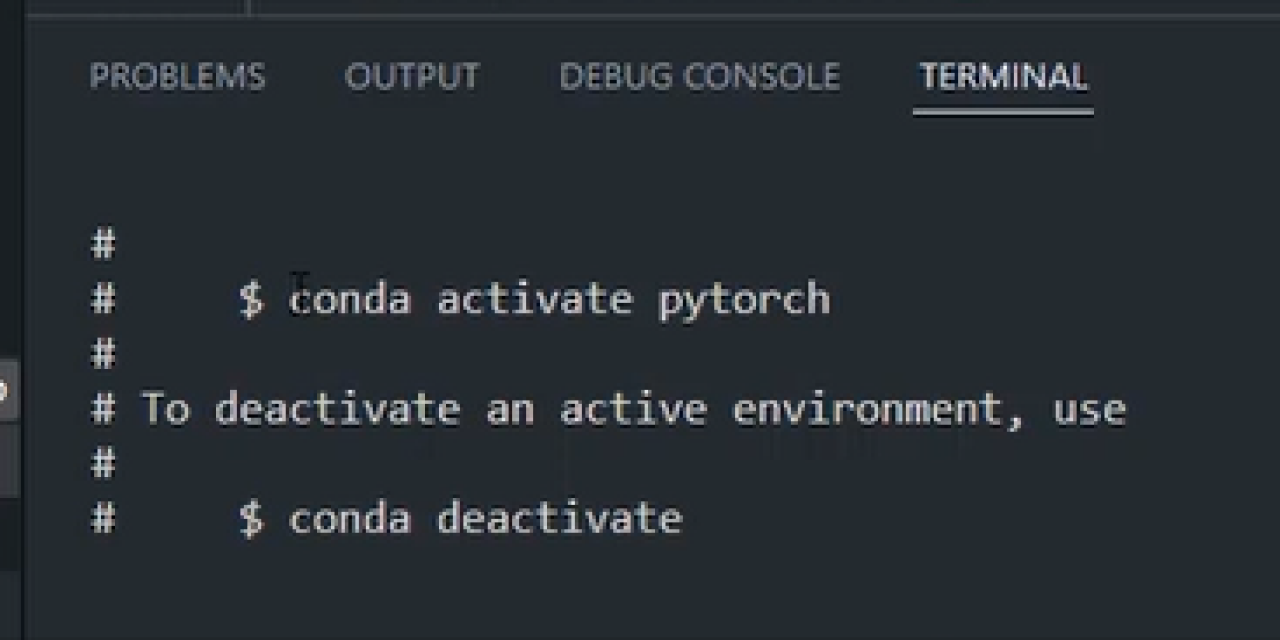
You can activate the environment with following command: conda activate pytorch
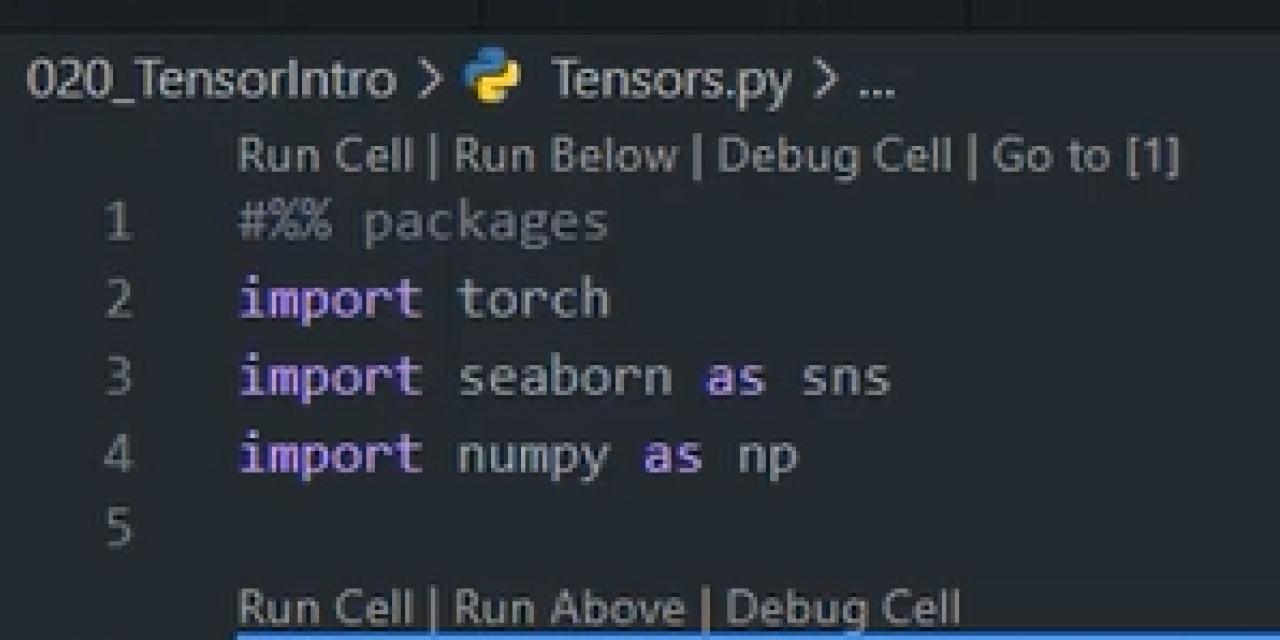
4. Verify the Installation:
-
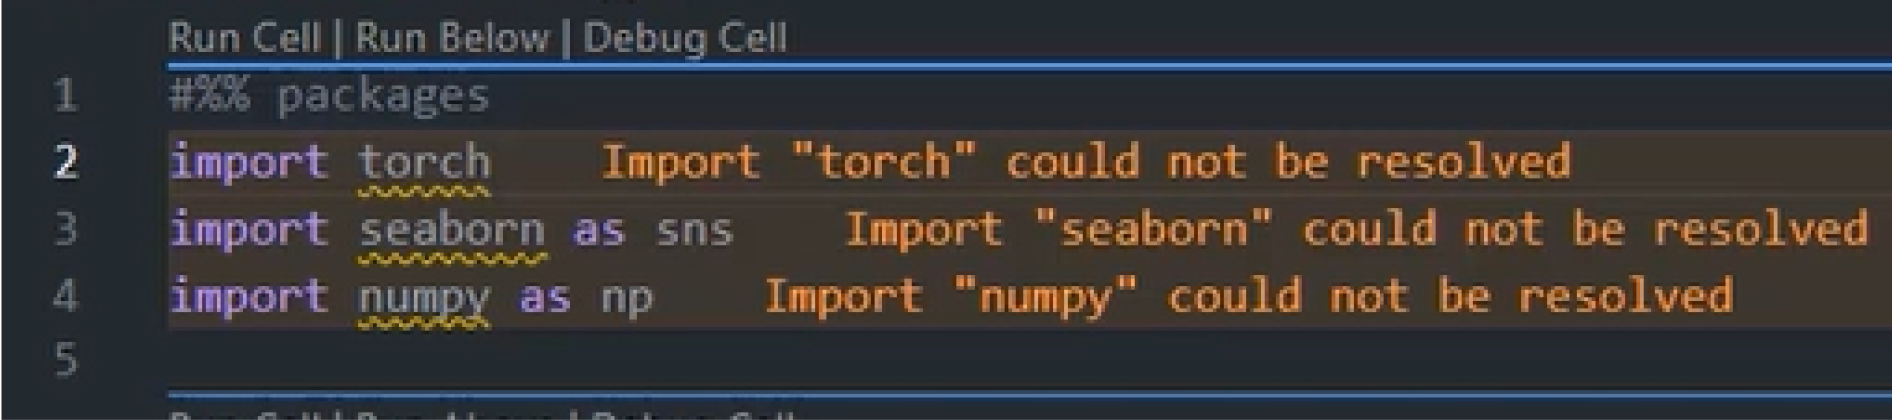
To verify that PyTorch is installed correctly, you can run the following Python code.
-
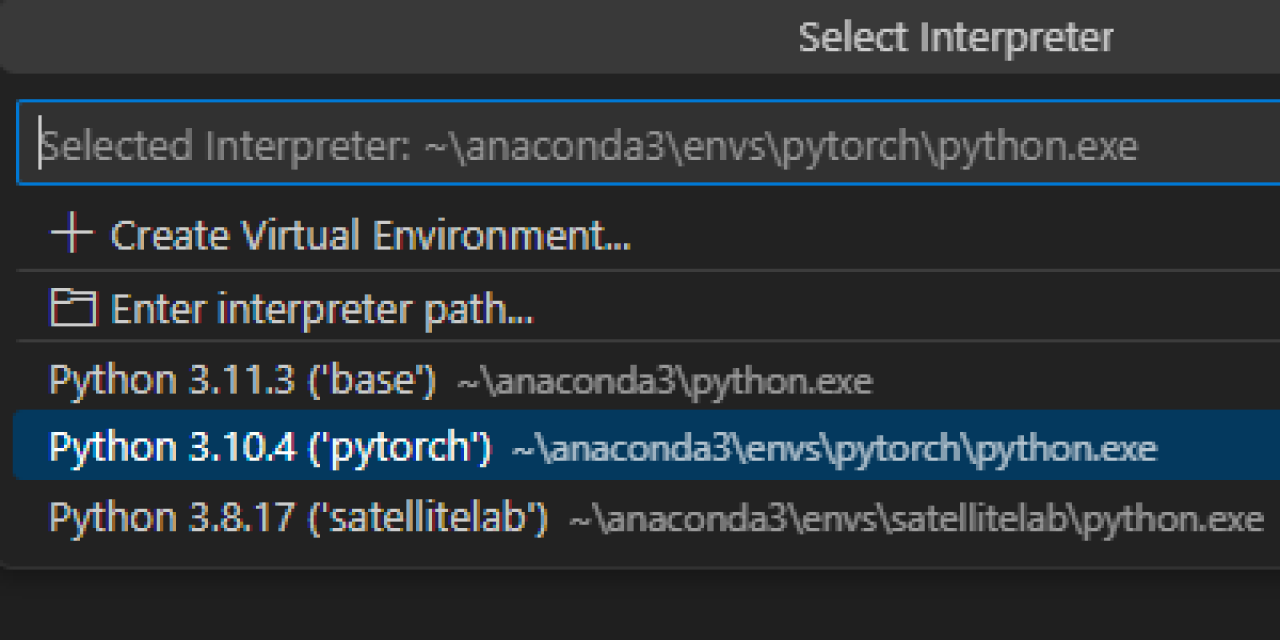
If you see the warning, make sure you select the appropriate interpreter
-
Once the interpreter is selected, system will not show any warning.
-
To run the command, hit “Run cell”, and you can see command running successfully

Conclusion
Setting up a robust development environment is a crucial first
step
for any machine learning or deep learning project. A well-configured environment
ensures
smooth development, reproducibility, and ease of collaboration. In this overview, we
covered the essential tools and steps needed to set up a development environment for
working with PyTorch, focusing on creating a consistent and isolated workspace for
your
computer vision projects.
Before diving into the world of computer vision with PyTorch, it is essential to
ensure
your system is properly set up. This guide walked you through the necessary programs
and
their installation steps so you can follow along with all the blogs in this series
seamlessly. We used Anaconda for managing our Python environment and Visual Studio
Code
as our code editor.
By following these steps, you have laid a strong foundation for your computer vision
projects. Your development environment is now ready to support you as you explore
and
experiment with PyTorch's powerful capabilities.
Stay tuned for the next installment, where we will start with “Understanding Tensors in PyTorch-Part-1"

Written By
Impetus Ai Solutions
Impetus is a pioneer in AI and ML, specializing in developing cutting-edge solutions that drive innovation and efficiency. Our expertise extends to product engineering, warranty management, and building robust cloud infrastructures. We leverage advanced AI and ML techniques to provide state-of-the-art technological and IT-related services, ensuring our clients stay ahead in the digital era.